
Tried & True Simple Cobbler
Desserts have always been one of my favorite things—probably a little too favorite, if I’m honest. I could easily polish off an entire cobbler by myself. I don’t, though—I’ve been trying to make healthier choices lately. But every now and then, I treat myself. I usually pay for it later, but honestly, it’s totally worth it.
I grew up in Georgia, as I’ve mentioned here and on social media before. Peaches are a big deal there, especially in season when they’re everywhere. And cobbler—no matter what fruit you use—is pretty much a staple. I mean, it’s fruit baked into something like a sweet, soft cake. What’s not to love?
I’ve looked up plenty of cobbler recipes over the years, but most are overly complicated and use a long list of ingredients. Personally, I prefer to keep things simple. In my opinion, less is more—especially in the kitchen. So today, I want to share a family recipe that’s been passed down for generations—from my great-grandmother, to my grandmother, to my mom, and now to me.
It’s simple, forgiving, and incredibly delicious. Best of all, it’s versatile—just about any fruit you’d use in a cobbler will work. I know for sure that peach and raspberry are amazing with this, but don’t be afraid to experiment.
So, let’s get into it:
Ingredients:
- 1 stick of butter
- 1 cup self-rising flour
- 1 cup sugar
- 1 cup milk
- Fruit of your choice
Instructions:
- In a bowl, combine the flour, sugar, and milk until smooth. It should have a cake batter like consistency.
- Melt the butter and pour it into the bottom of an 8×8 or 11×8 baking dish.
- Spread your fruit evenly over the melted butter.
- Pour the batter over the fruit—do not stir.
- Bake at 350°F for about 30 minutes, or until the top is golden brown.
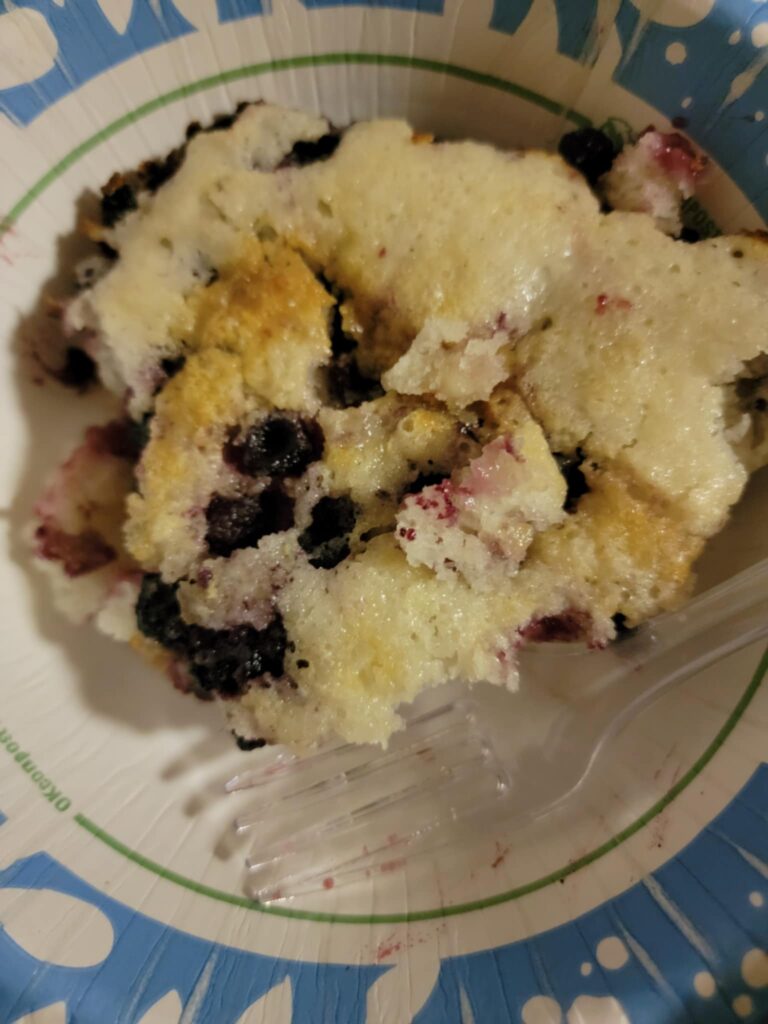
- Let it cool a bit
- Top with vanilla ice cream (optional)
Simple, cozy, and guaranteed to satisfy. Let me know if you try it—and definitely tell me what fruit you use!
